


Creating a custom dashboard in Odoo enhances data visualization and provides quick access to key metrics tailored to your business needs. This guide will walk you through the process of building a personalized dashboard in Odoo, ensuring you can monitor and analyze your operations effectively.
1. Introduction to Odoo Dashboards
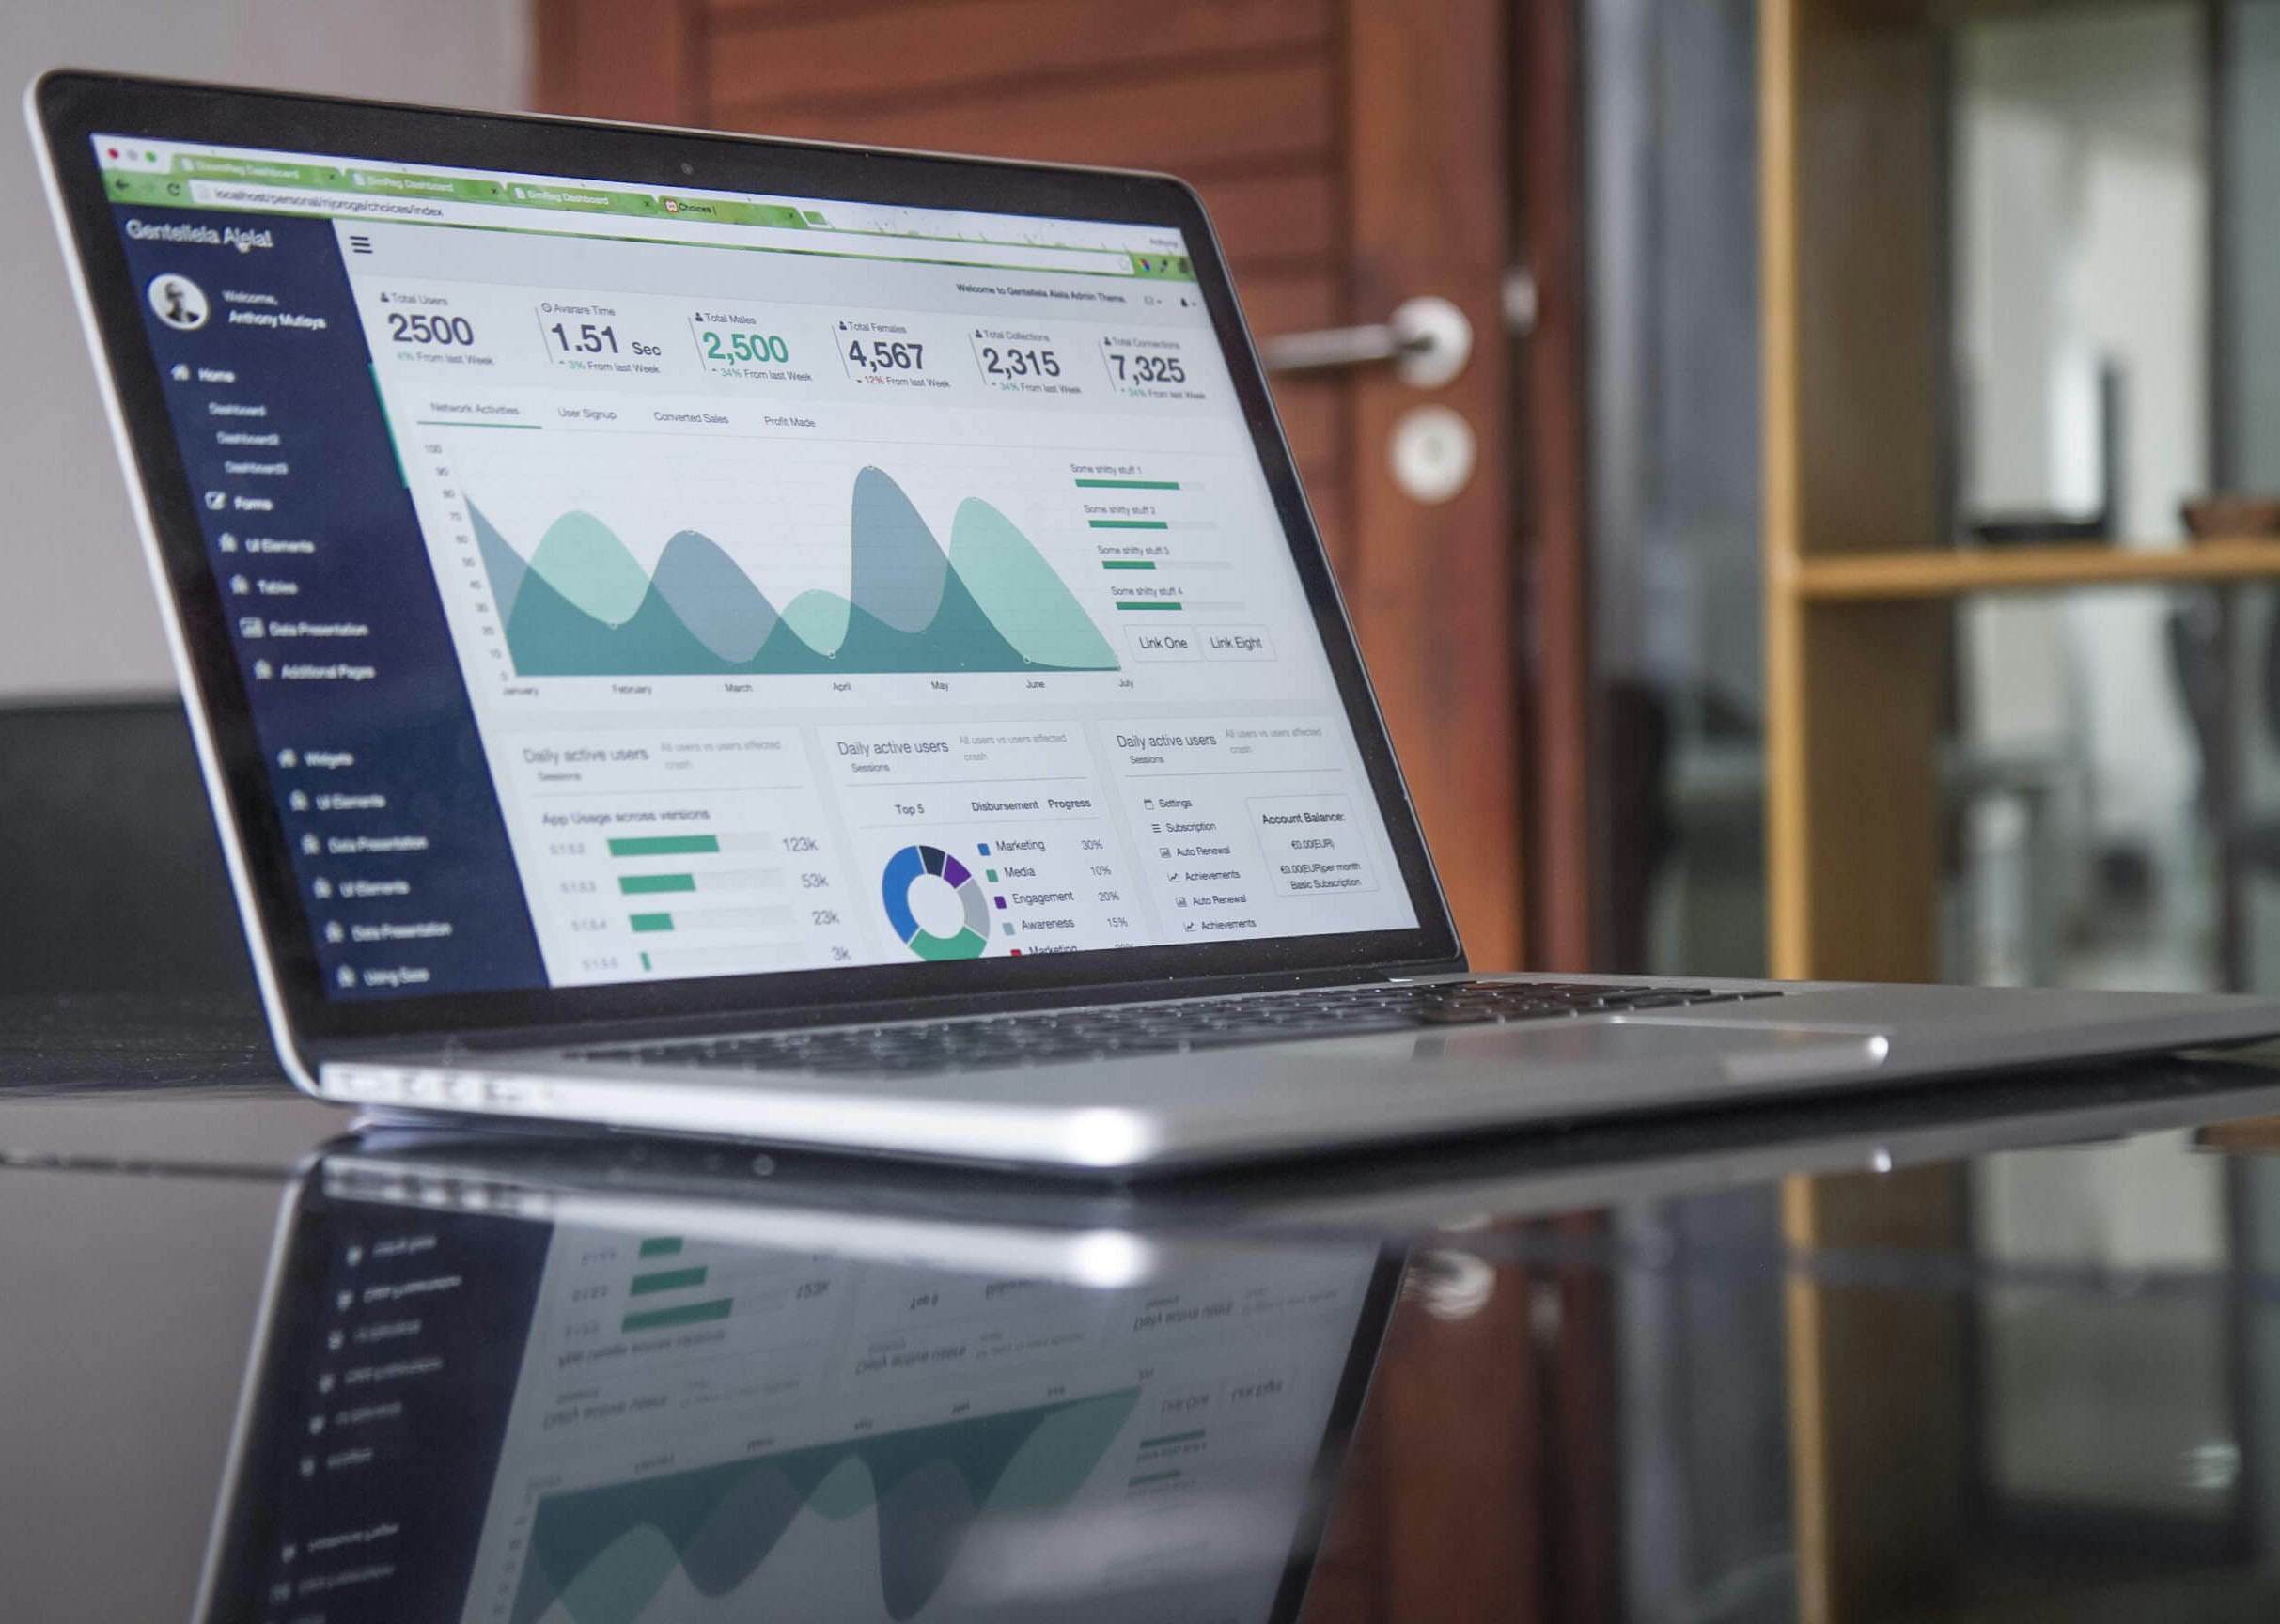
Odoo dashboards offer a centralized platform to visualize data across various modules such as Sales, Inventory, Accounting, and more. By customizing dashboards, users can focus on metrics that matter most, facilitating informed decision-making and efficient business management.
2. Installing the Dashboard Module
Before creating a custom dashboard, ensure that the Dashboard module is installed in your Odoo instance:
- Access the Apps Menu: Navigate to the Apps menu from the main dashboard.
- Search for the Dashboard Module: In the search bar, type “Dashboard” or “board” (the technical name).
- Install the Module: If not already installed, click the ‘Install’ button to add the Dashboard module to your system.
Installing this module enables the “Add to my Dashboard” feature, allowing you to customize your dashboards effectively. citeturn0search0
3. Creating a Custom Dashboard
Once the Dashboard module is installed, follow these steps to create your custom dashboard:
- Navigate to the Desired Module: Go to the module (e.g., Sales, Inventory) where the data you want to visualize is located.
- Apply Filters and Views: Use filters to narrow down data and select the preferred view (list, pivot, graph) that represents your data appropriately.
- Add to Dashboard: Click on the ‘Favorites’ dropdown and select ‘Add to my Dashboard’. Provide a name for this dashboard item to identify it easily.
Repeat these steps to add multiple items from different modules, compiling them into a single, cohesive dashboard.
4. Customizing Dashboard Layout
To enhance the usability and appearance of your dashboard:
- Edit Dashboard: Navigate to your dashboard and click on the ‘Edit’ button to rearrange or resize the dashboard items.
- Use Grid Snippets: For advanced customization, install the “MuK Grid Snippets” module, which provides a Bootstrap grid system to structure your dashboard layout precisely. citeturn0search3
- Incorporate Widgets: Add various widgets like graphs, charts, and KPIs to visualize data effectively. Customize these widgets to align with your specific requirements.
5. Setting User Permissions
Control access to your custom dashboards by configuring user permissions:
- Manage Users: Go to ‘Settings’ > ‘Users & Companies’ > ‘Users’.
- Assign Access Rights: Select a user and navigate to the ‘Access Rights’ tab to assign appropriate permissions, ensuring users have access only to relevant dashboards and data.
6. Advanced Customization with Odoo Studio
For users seeking deeper customization:
- Install Odoo Studio: This module provides a user-friendly interface to create and modify dashboard components without extensive coding knowledge.
- Design Custom Views: Utilize Odoo Studio to design custom views and integrate them into your dashboard, tailoring the interface to your business processes.
7. Best Practices for Effective Dashboards
To maximize the effectiveness of your custom dashboards:
- Keep It Simple: Avoid clutter by displaying only essential metrics. A clean dashboard enhances readability and user experience.
- Ensure Real-Time Data: Configure your dashboard to refresh data at appropriate intervals, providing up-to-date information for decision-making.
- Solicit User Feedback: Engage with end-users to gather feedback and make iterative improvements, ensuring the dashboard meets their needs.
8. Conclusion
Creating a custom dashboard in Odoo is a powerful way to visualize critical business data and streamline operations. By following the steps outlined in this guide, you can develop a personalized dashboard that serves as a central hub for monitoring and analyzing your business activities.
For a visual demonstration of creating custom dashboards in Odoo, consider watching the following tutorial:
videoCreate Your Own Dashboard in ODOO 17 Today!!turn0search2


One response to “Creating Custom Dashboards”
Hi, this is a comment.
To get started with moderating, editing, and deleting comments, please visit the Comments screen in the dashboard.
Commenter avatars come from Gravatar.